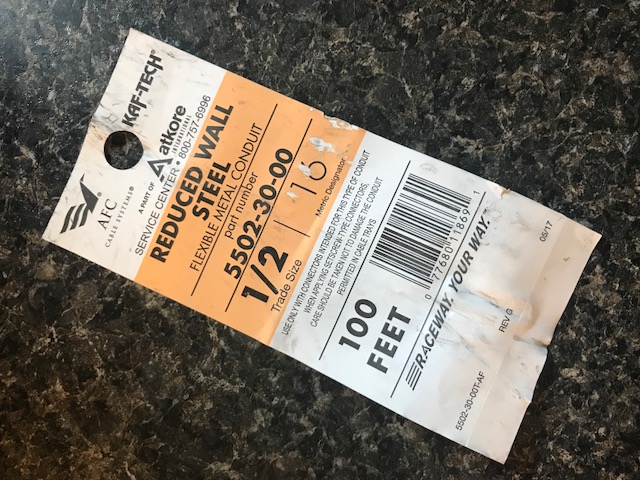
1/2″ flexible metal conduit
To start, a connector is screwed down on each end. Then the flexible conduit is stuffed with the correct color wires for the particular installation. In this case, we were installing dimmable lights.
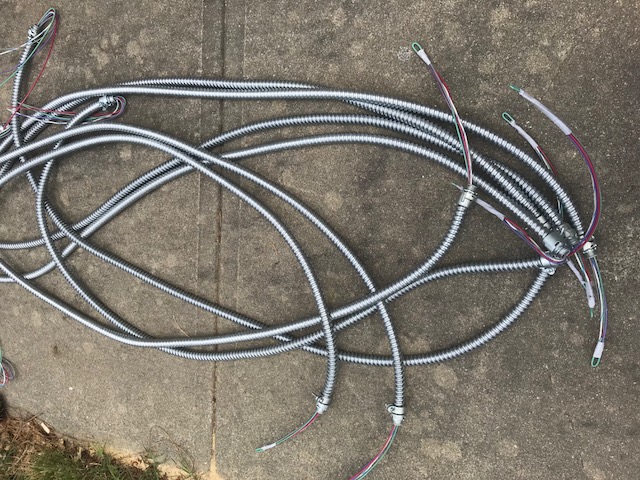
wire whips
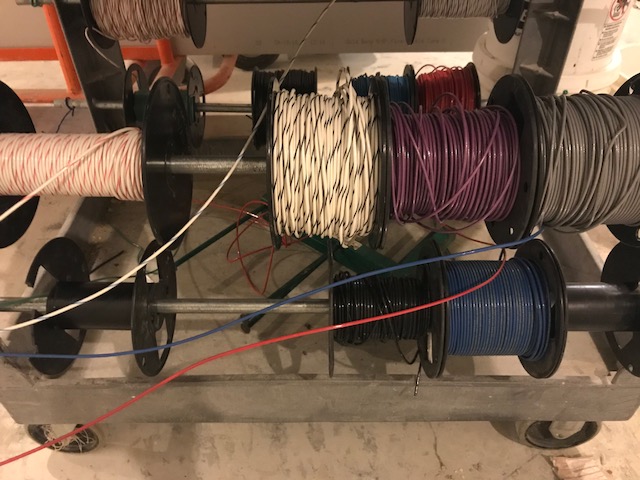
wire cart
The wire bundle is taped on the end to help slide it through the conduit.
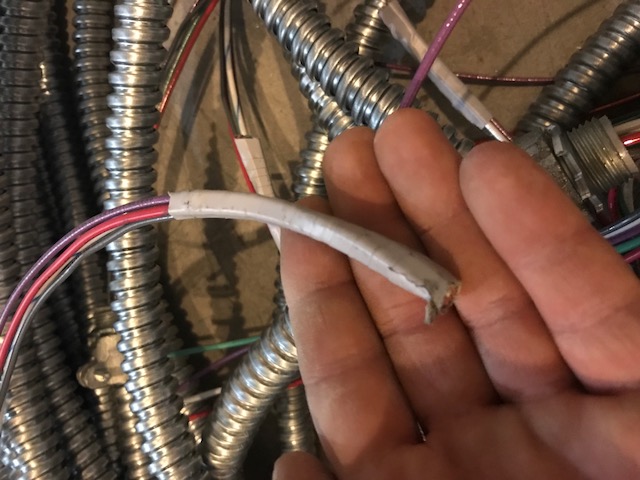
bundle of wires
Once the connectors are on and the wire is pushed through, the whip can be installed and attached to the box which will feed power to the light.
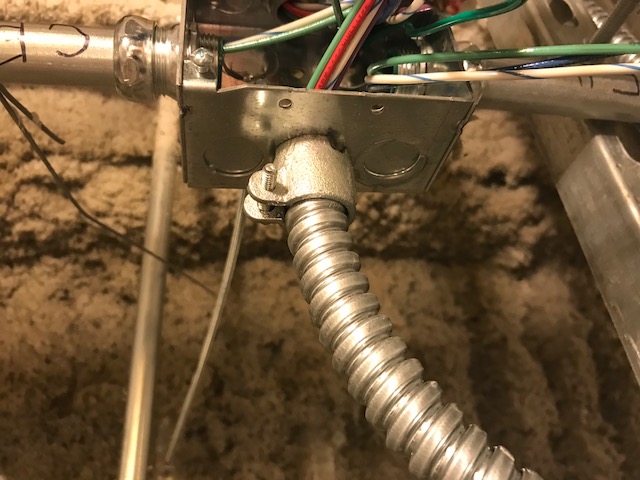
flexible conduit connected to a box
This box will feed power to two different lights:
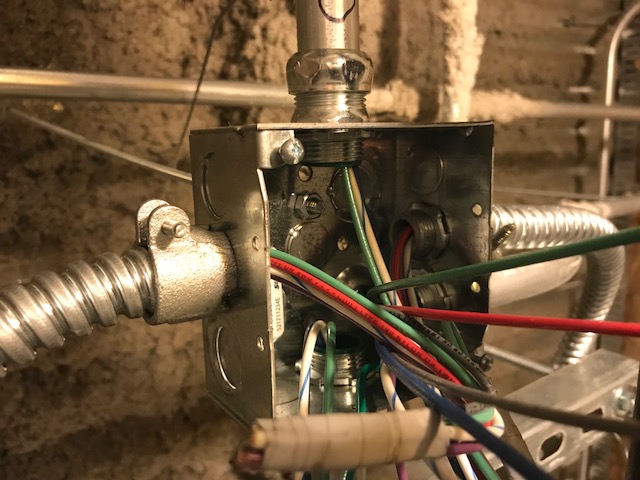
box with two wire whips