I keep a daily log of the work I am doing on a small memo book that I keep in my pocket. The pocket is low and on the side of my work pants, so I sometimes forget to take it out when I change my pants. I accidentally washed my last notebook. It contained twenty-five days of notes. This was a huge bummer. Thankfully I remembered one of the last entries. It was a step-by-step guide to installing what are called “cut-in” boxes. It is as glamorous as it sounds.
The first step is identifying where and what type of box will go in. A foreman or mechanic will look at the prints and then come to the room where the box will be placed. They will mark on the wall the shorthand for the box.
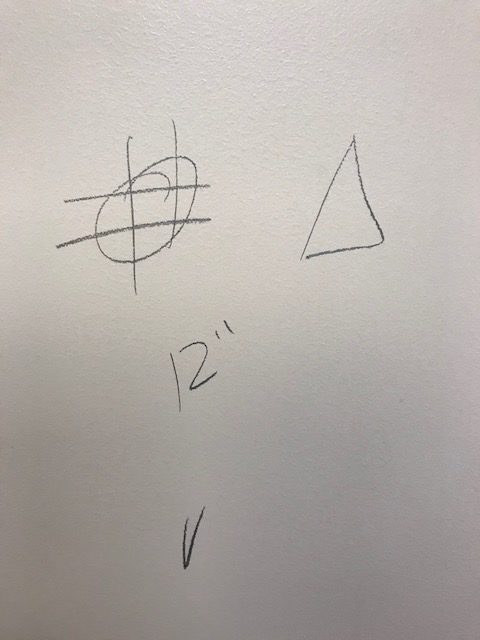
The quick translation for the above is that there will be two electrical receptacles (indicated by the circle with the four hash marks) and a data port (indicated by the triangle) located twelve inches from the floor.
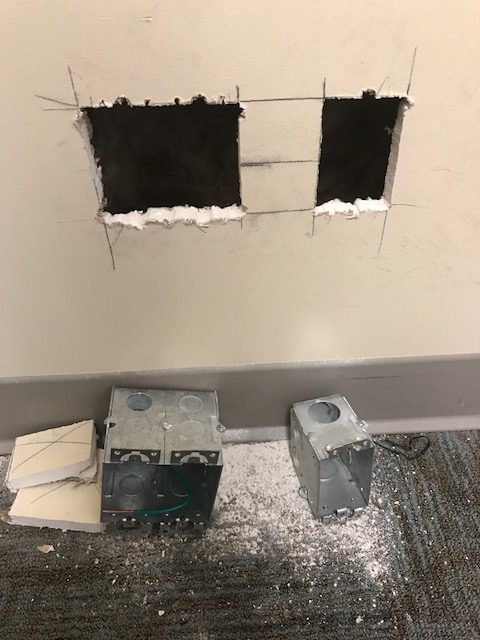
The next step is to mark out the cuts for the boxes by measuring out the size of each. Using a level and pencil, each cut is drawn. The cuts are made with a drywall saw (also called a sheetrock saw or a jab saw). Each screw and tab must be accounted for when cutting out the boxes. This is to ensure that the boxes fit flush with the drywall.
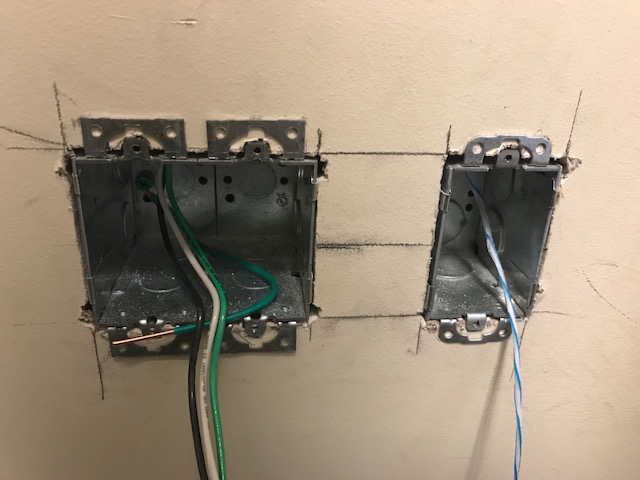
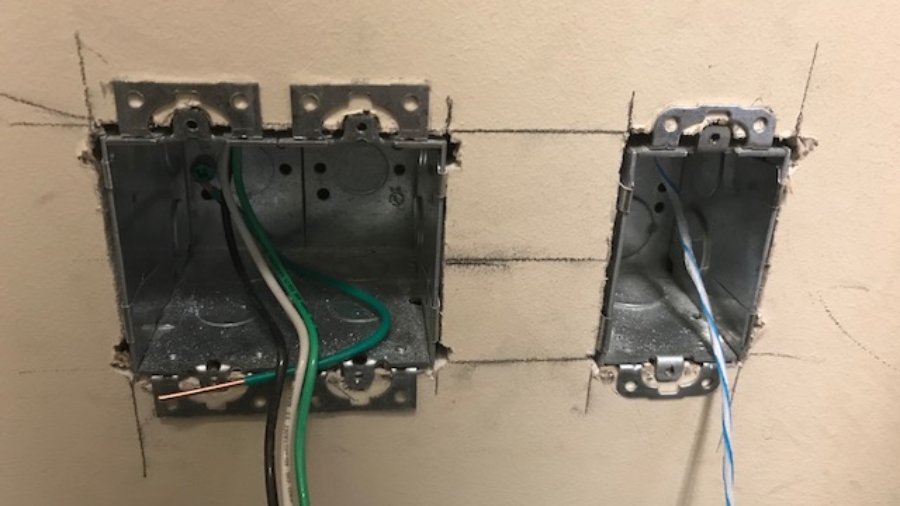
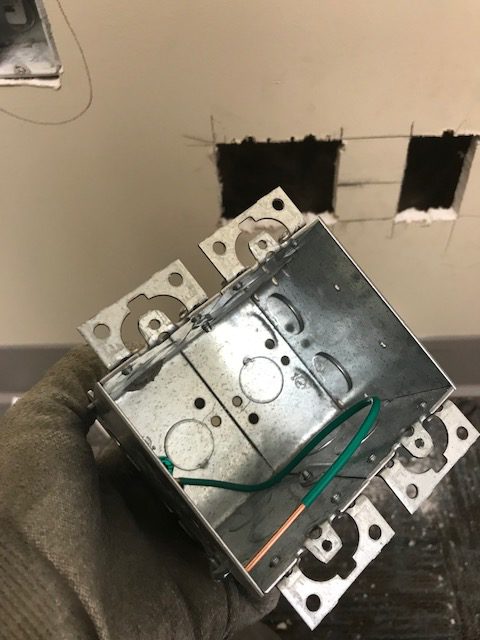
The box for the double receptacles is made by combining two cut-in boxes. The sides easily unscrew and come apart. A ground wire is added to the box.
Next comes the fun part: fishing wire down the wall and attaching it to the box with a small connector. At the very top of the wall, a small square is cut out of the drywall. From there, we use “fish-sticks” to pull a string from the box up through the wall. The string is attached to a piece of MC cable, which is basically several wires encased inside a metal shell.
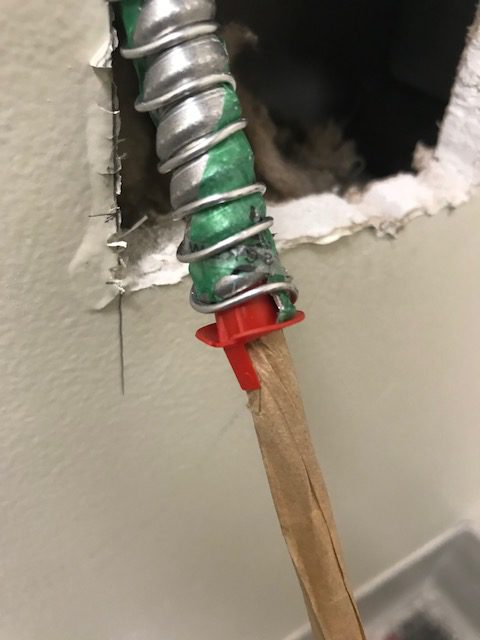
Pull the string up the wall with the MC attached. This all sounds much easier than it is. Doing this by myself takes quite some time since I have to go up and down the ladder to facilitate the movement of the wire up the wall. With two people it is much easier. One person can pull the string while the other pushes the wire up from the bottom.
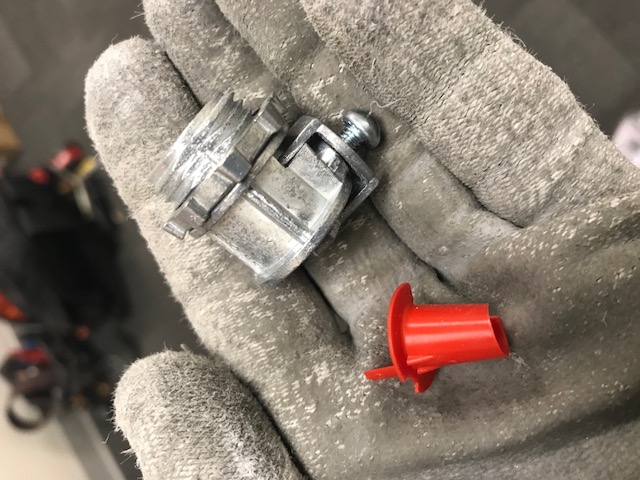
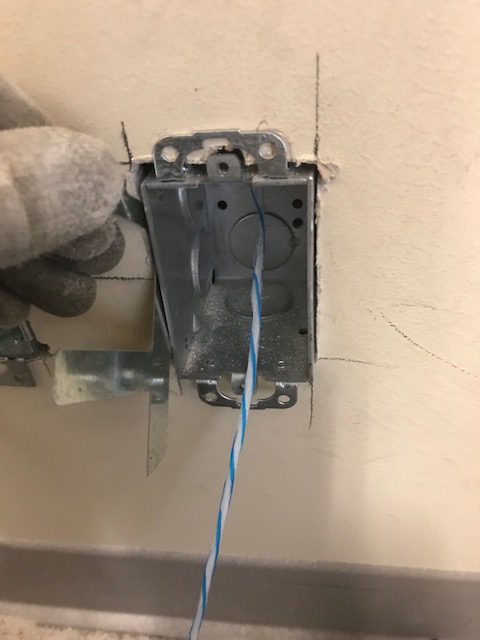
A connector is installed on the end of the MC cable along with a small piece of plastic that is meant to protect against shorts where the wire comes through the box. The slang for these pieces of plastic is “red-heads”. I don’t know the official name for them.
Once the connector is tightened down, the process is almost finished. The boxes are secured to the wall using metal tabs that we call “jiffy clips”. There are a whole host of other nicknames for these things, probably regional: battleships, F straps, Madison straps, ears, hold-its, etc.
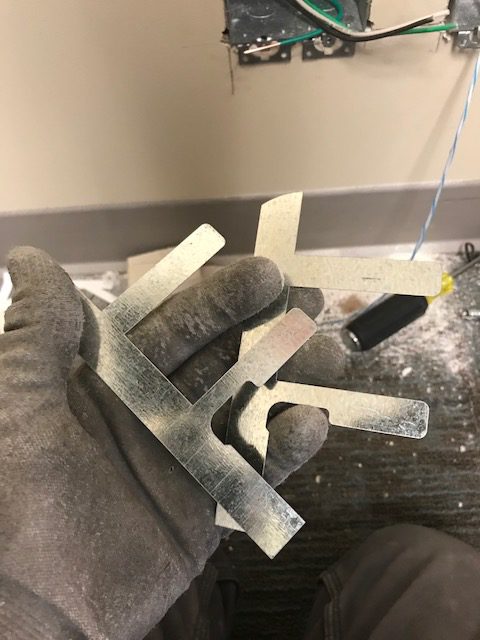
The clips slide into the wall on the side of the box.
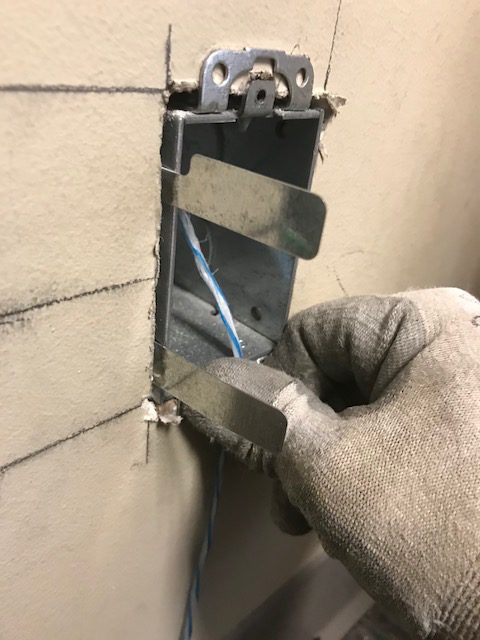
The tabs are bent in and secured with pliers. And this is the finished product –