IMG_5357

I washed my notebook but remembered to write down how to cut in new outlet boxes

I keep a daily log of the work I am doing on a small memo book that I keep in my pocket. The pocket is low and on the side of my work pants, so I sometimes forget to take it out when I change my pants. I accidentally washed my last notebook. It contained twenty-five days of notes. This was a huge bummer. Thankfully I remembered one of the last entries. It was a step-by-step guide to installing what are called “cut-in” boxes. It is as glamorous as it sounds.

The first step is identifying where and what type of box will go in.  A foreman or mechanic will look at the prints and then come to the room where the box will be placed. They will mark on the wall the shorthand for the box.
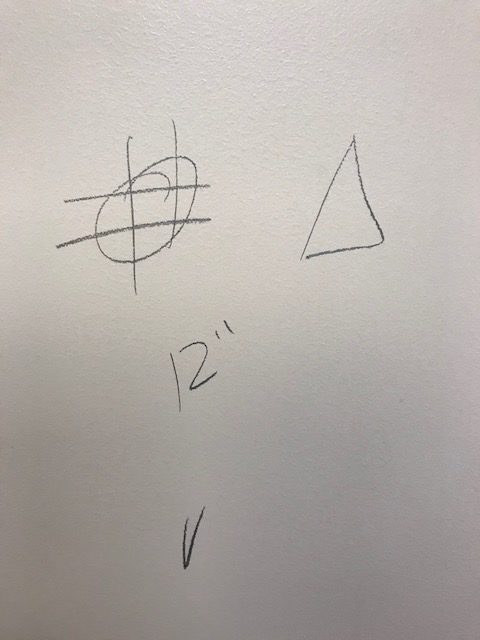
instructions for cut-in boxes

instructions for cut-in boxes

The quick translation for the above is that there will be two electrical receptacles (indicated by the circle with the four hash marks) and a data port (indicated by the triangle) located twelve inches from the floor.

The next step is to mark out the cuts for the boxes by measuring out the size of each. Using a level and pencil, each cut is drawn. The cuts are made with a drywall saw (also called a sheetrock saw or a jab saw). Each screw and tab must be accounted for when cutting out the boxes. This is to ensure that the boxes fit flush with the drywall.
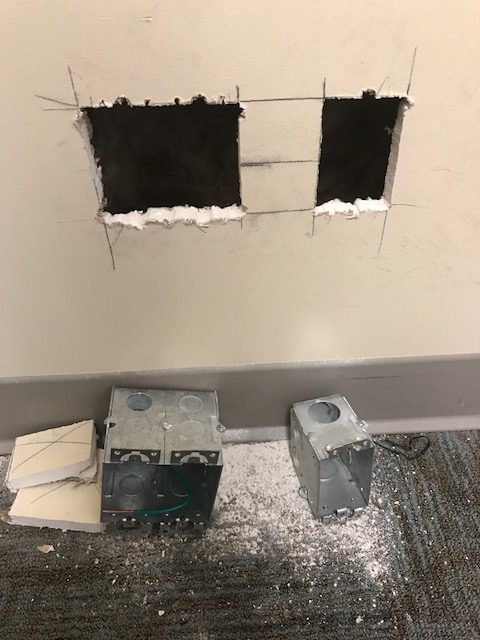
holes cut out

holes cut out

The box for the double receptacles is made by combining two cut-in boxes. The sides easily unscrew and come apart. A ground wire is added to the box.
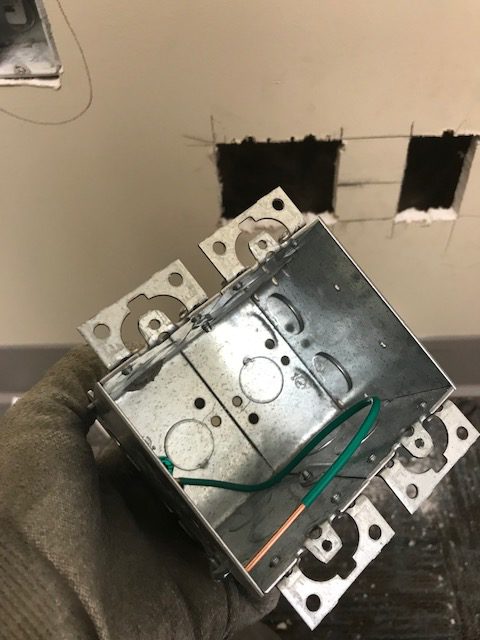
double cut-in box

double cut-in box

Next comes the fun part: fishing wire down the wall and attaching it to the box with a small connector. At the very top of the wall, a small square is cut out of the drywall. From there, we use “fish-sticks” to pull a string from the box up through the wall. The string is attached to a piece of MC cable, which is basically several wires encased inside a metal shell.
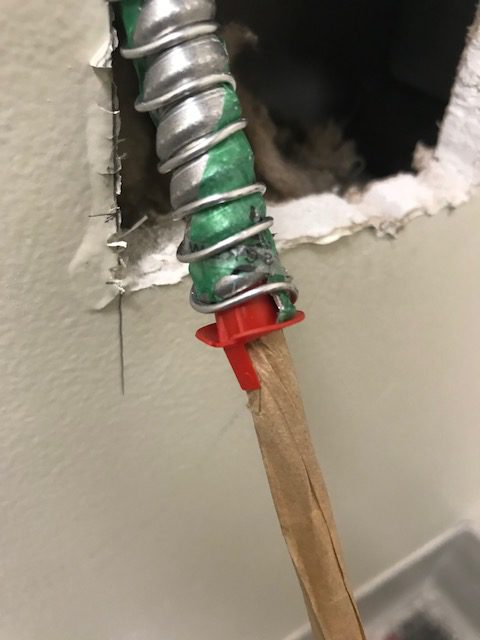
MC cable with red-head attached

MC cable with red-head attached

Pull the string up the wall with the MC attached. This all sounds much easier than it is. Doing this by myself takes quite some time since I have to go up and down the ladder to facilitate the movement of the wire up the wall. With two people it is much easier. One person can pull the string while the other pushes the wire up from the bottom.

A connector is installed on the end of the MC cable along with a small piece of plastic that is meant to protect against shorts where the wire comes through the box. The slang for these pieces of plastic is “red-heads”. I don’t know the official name for them.
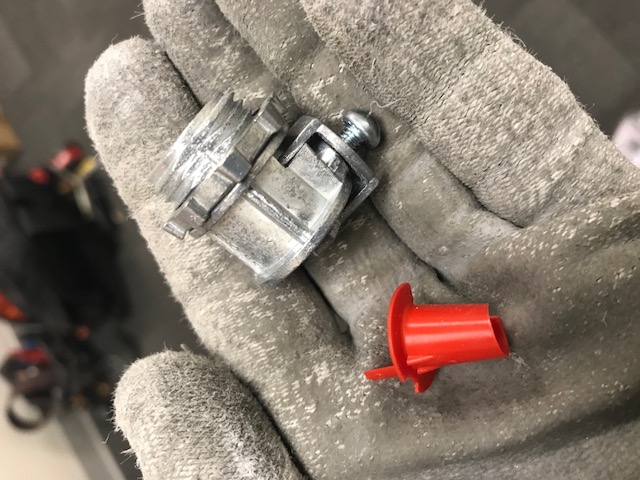
MC connector with red-head

MC connector with red-head

Once the connector is tightened down, the process is almost finished. The boxes are secured to the wall using metal tabs that we call “jiffy clips”. There are a whole host of other nicknames for these things, probably regional: battleships, F straps, Madison straps, ears, hold-its, etc.
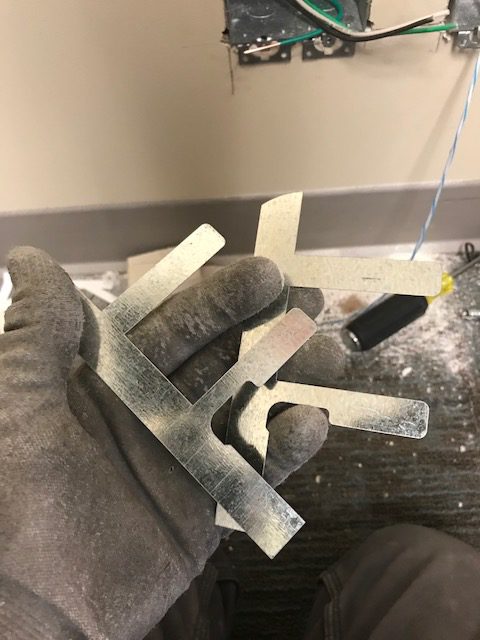
jiffy clips

jiffy clips

The clips slide into the wall on the side of the box.
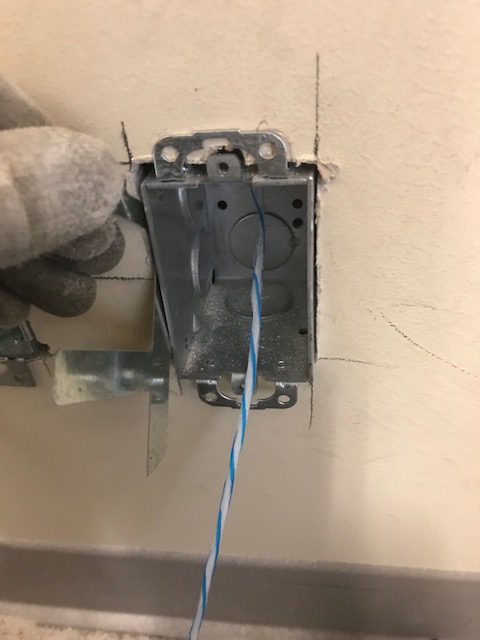
inserting jiffy clips
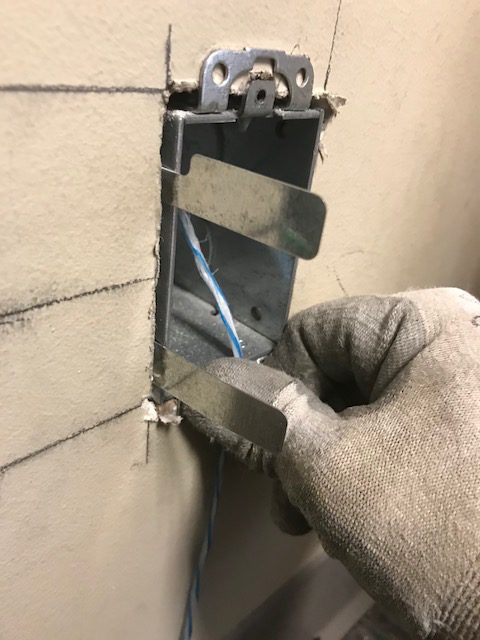
inserting jiffy clips

jiffy clip inserted into the wall

jiffy clip inserted into the wall

The tabs are bent in and secured with pliers. And this is the finished product –
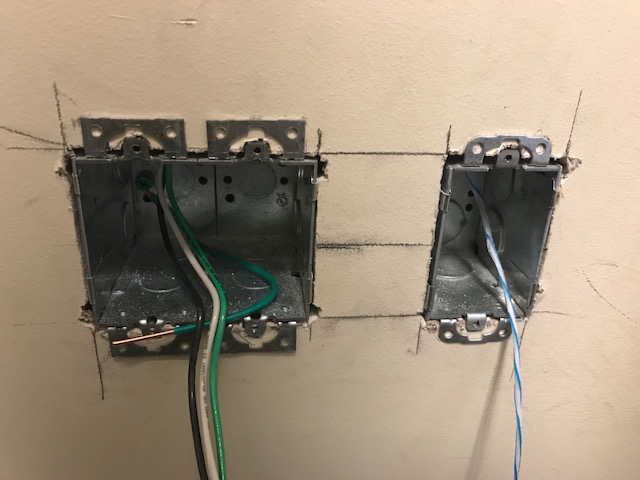
finished cut-in boxes
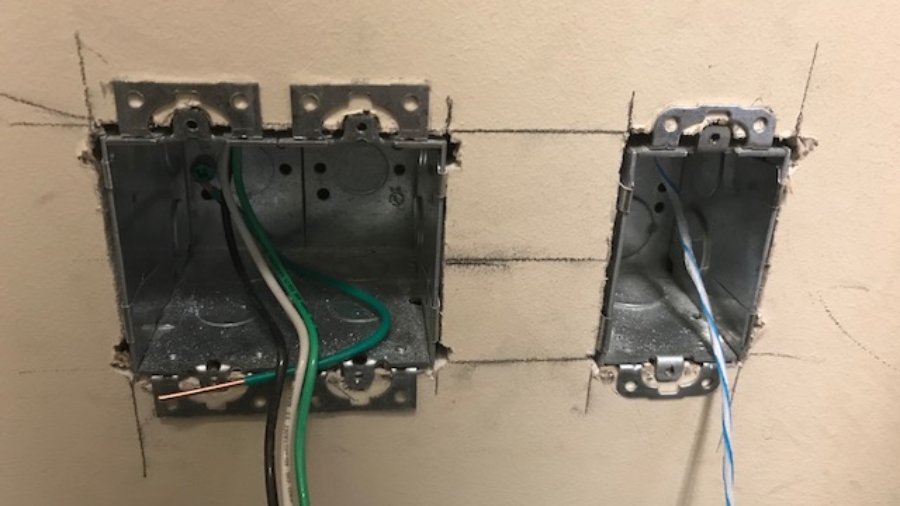
finished cut-in boxes


Shocked by 277 and 120 volts

Last week I was shocked twice, once by 277 volts and once by 120 volts. Neither was my fault.

The first instance was when I was in a ceiling working on pulling wire into a 277 volt lighting circuit. I had tested the wires to see if they were hot using my “hot stick“. I had disassembled the wires in the junction box in order to remove an old light and install a new piece of conduit that would run down the wall to a new dimmer switch.

As a co-worker prepared to feed the new switch wire up the wall to me, I grabbed the wires in the junction box above me to move them out of the way. That is when I received the shock in my left hand. After yelling some choice words, I found out that another co-worker had turned on the wrong circuit breaker. What I learned from this accident is that I should cap off all wires with wire nuts after disassembly in order to prevent touching bare wire.

The second instance was when I was wiring up a dimmer switch on a 120 volt circuit. I tested the wires. They were not hot at that moment. A few seconds later I received a jolt. Someone had turned on the breaker to check to see if some lights were fixed further down the hall. There was not much I could have done in this scenario. There were people in and out of the circuit breaker panel. There was a bit of chaos. The only thing I could have done was to walk away from the switch until things had settled down and I could get an assurance that the circuit would remain off. What I learned from this accident is to trust no one when it comes to a circuit being on or off. If they say it is off, I need to verify it myself. I also need to check my surroundings. If other workers are in a rush, I need to be constantly vigilant.

1/2" flexible metal conduit

Making and installing lighting wire “whips”

O

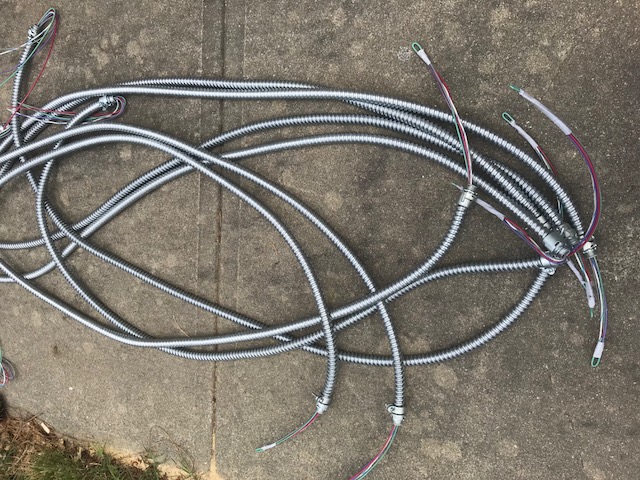
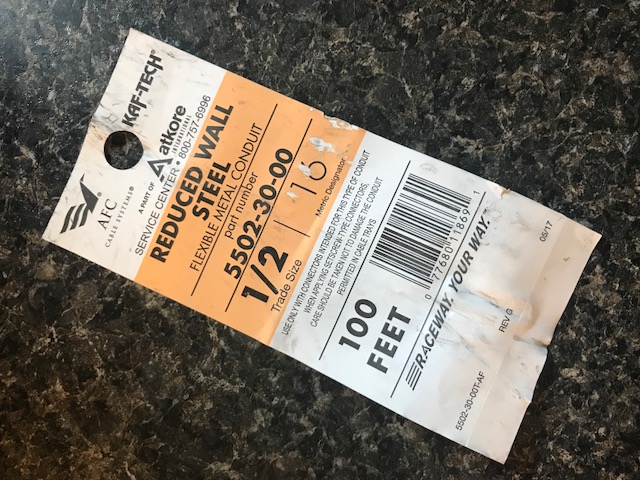
ne of my tasks a few weeks ago was to assemble something called “wire whips”. Made of flexible steel conduit, these short pieces of wiring can be used to connect to overhead lights.

1/2" flexible metal conduit

1/2″ flexible metal conduit

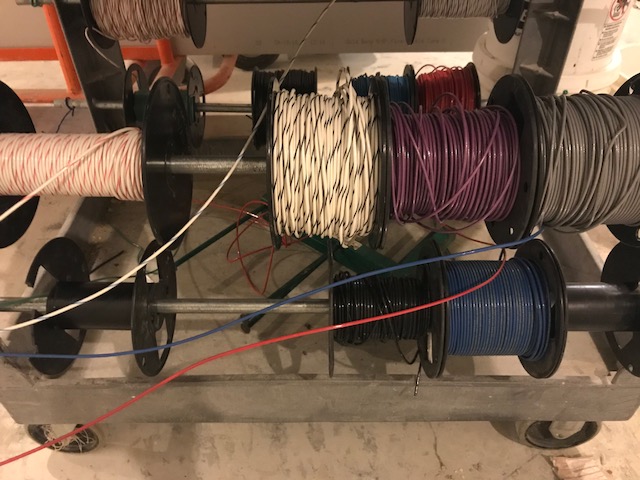
To start, a connector is screwed down on each end. Then the flexible conduit is stuffed with the correct color wires for the particular installation. In this case, we were installing dimmable lights.

wire whips

wire whips

wire cart

wire cart

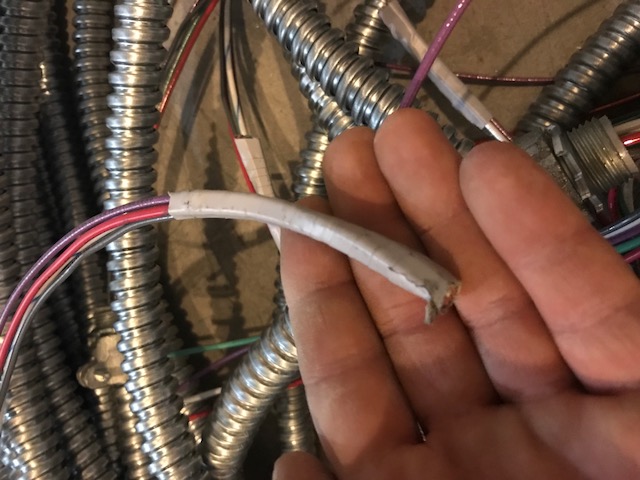
The wire bundle is taped on the end to help slide it through the conduit.

bundle of wires

bundle of wires

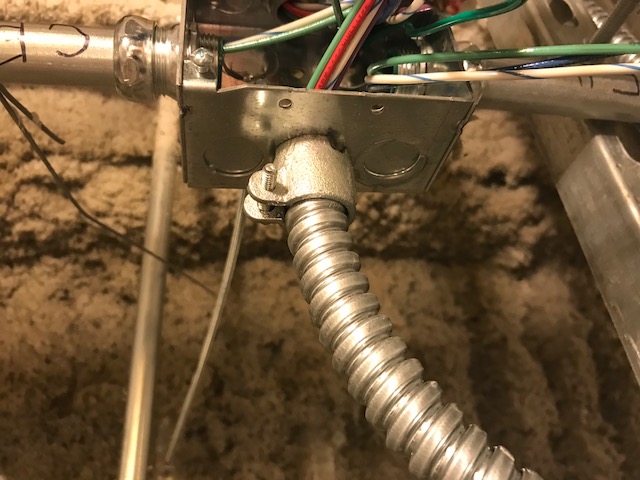
Once the connectors are on and the wire is pushed through, the whip can be installed and attached to the box which will feed power to the light.

flexible conduit connected to a box

flexible conduit connected to a box

This box will feed power to two different lights:

box with two wire whips

box with two wire whips

Phases and circuit wire colors

Identifying circuit colors in three phase 120/208 volt panels (or how I learned the Rule of 6)

W

e have been pulling a lot of wire lately. Each of the twelve rooms we are wiring have their own circuit, which means the wire colors are different with each pull. My boss kept testing me on which circuit number we were doing in a particular room and then, if I got that right, which color wire corresponded with that circuit number.

Phases and circuit wire colors

Phases and circuit wire colors

This is what I know for sure: I don’t know much of anything yet. I was and am lost, but I will do my best to explain what I do know and how I figured out how to know the correct color of a circuit.

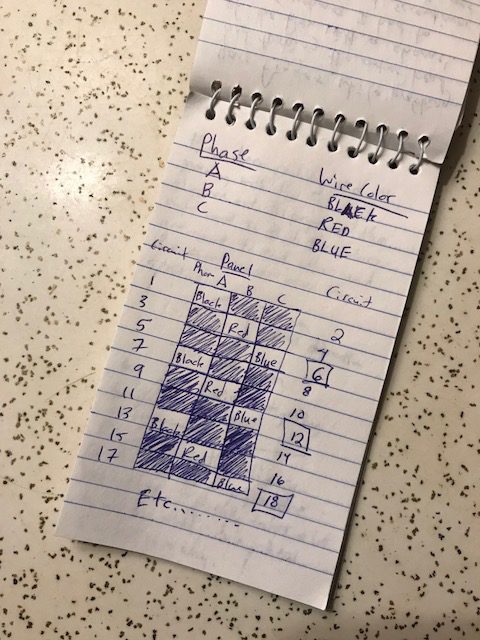
In commercial 120/208 volt electrical systems, there are three phases – A, B, and C. Each phase is one of three colors – black, red, or blue. Phase A is circuit 1 and 2 (black), Phase B is circuit 3 and 4 (red), Phase C is circuit 5 and 6 (blue). It then starts over with the phases. Phase A is circuit 7 and 8 (black) and on down the line. Phase A circuits are always black wire. Phase B circuits are always red wire. Phase C circuits are always blue wire. Seems easy enough to remember, right? Not for me, not until I learned the “rule of 6“.

Each multiple of 6 is always blue: 6, 12, 18, 24, 30, 36, 42, 48, 54, 60, … are all blue circuits as are the numbers right before them: 5, 11, 17, 23, 29, 35, 41, 47, 53, 59, … It is not necessary to remember those odd numbers if you remember the multiples of 6. If you remember the color pattern black, red, blue, then you can figure out the other circuit colors by finding the closest multiple of 6 and backtracking.

For example, if you had to pull wire for circuit 21, you would find the closest multiple of 6, which is 24. Since 23 and 24 are both blue, it means that 21 and 22 are both red, so the color wire needed to install for circuit 21 is red.

I had to write out a cheat sheet chart for myself in the notebook I carry with me. It really helped me to visualize what a panel would look like. Hopefully some of this makes sense.